Whenever we hear the word blog, WordPress or BlogSpot blogs cross our mind. Out of which WordPress is more in demand right now. It is an open source online website creation tool, which was written in PHP and MySQL.
But lots of people complain that WordPress blog is getting infected with malware or hacked, or being slow etc. So to overcome this problem, bloggers are migrating towards Jekyll. In the next section, Jekyll is explained as well as and how it overcomes the problems which WordPress is encountering.
Introducing Jekyll
Jekyll transforms plain text into static websites. In other words, it is a simple static site generator which takes a source file (written in the markup language) for creating a static website. It supports all kinds of file formats and is good for building a blog quickly.
Tom Preston-Werner, GitHub’s co-founder, wrote Jekyll in Ruby in the year 2009.
Though it needs some technical background and a good acquaintance of Markdown and the Liquid templating language, which are easy to learn if you have some elementary knowledge of HTML. The popularity of Jekyll could be seen on Showcase and wiki.
Jekyll is preferred because of the following reasons.
-
Performance: Jekyll is tremendously fast because static files are returned by the web server.
-
Secure: As content is static files which makes it more secure until someone hacked the server.
-
Less expensive: It requires fewer resources which cuts its operative cost.
-
Easy to learn: Basic knowledge of HTML, CSS, and JavaScript is suffice for learning Liquid which is a templating language.
-
Low maintenance: It takes less than five minutes for setting up Jekyll and the maintaining cost is minimum because of superb support for Markdown, and the Liquid templating language, making a blog is as easy as running two commands.
-
Big community: Jekyll has an immense active community as well as a team of Core maintainers which is working hard to maintain and document Jekyll very well.
-
New Learning Experience: Blogging is the best way to learn and share new skills in terms of technology. We learn more by teaching others and while getting your hands dirty with real-world problems.
TL;DR Five steps for creating a Jekyll blog:
- Install Jekyll.
- Download the theme.
- Modify the Gemfile.
- Modify the _config.yml file.
- Build the site and run the server.
The above steps are explained below in details.
Installing Jekyll
First Install Jekyll on windows (other OS installation procedures could be found on Jekyll website).
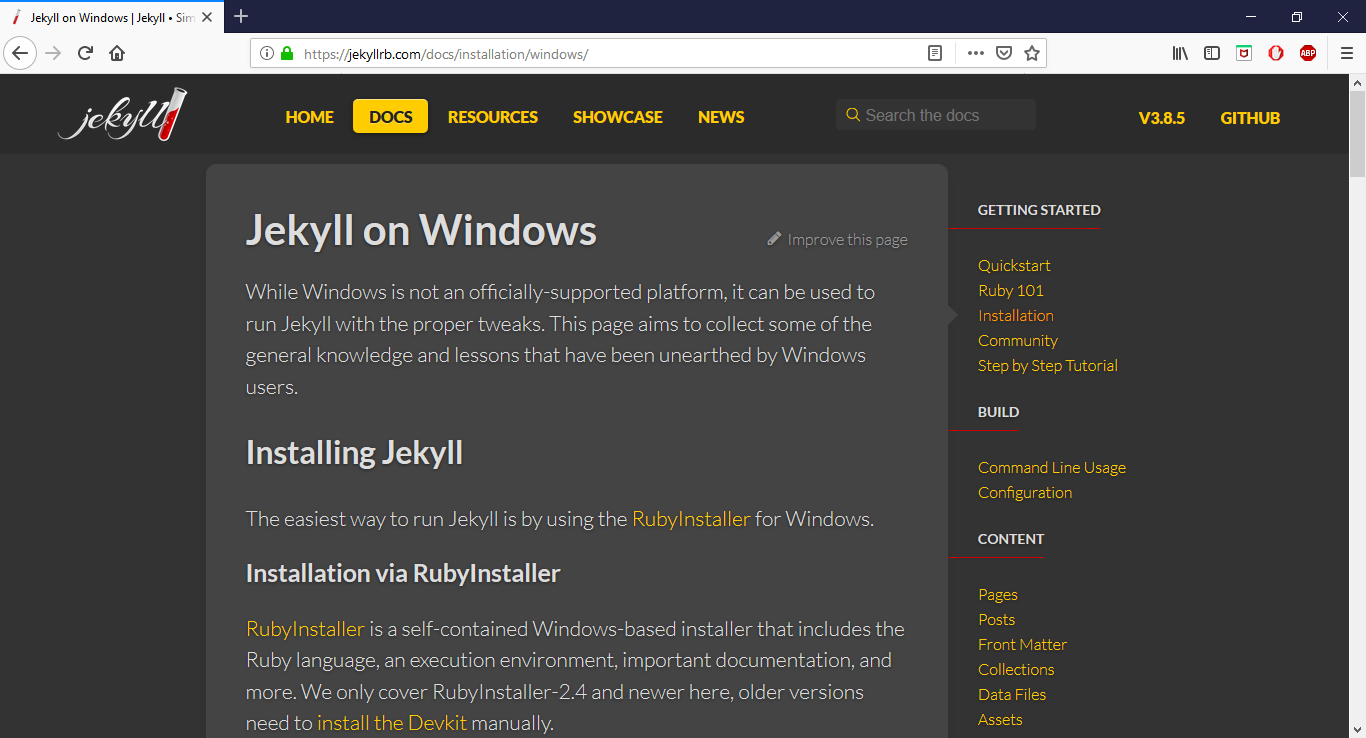
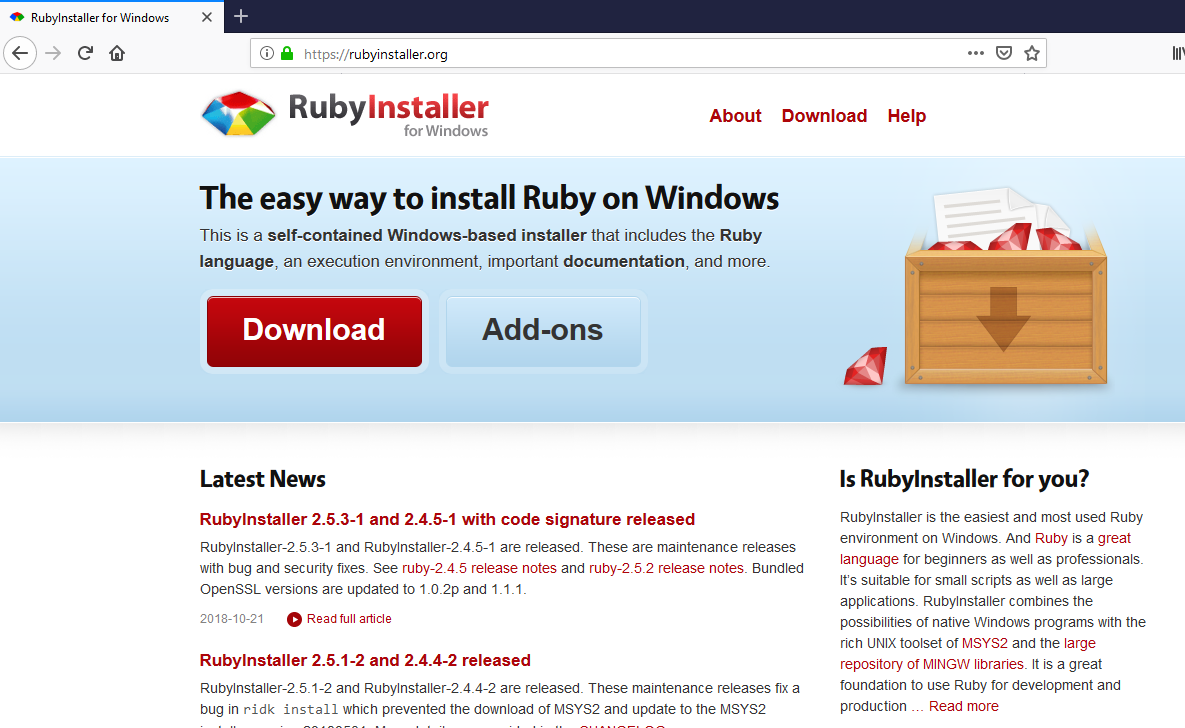
According to the Jekyll official documentation: The easiest method to run Jekyll is by using the RubyInstaller for Windows.
Jekyll is a Ruby Gem. The best explanation is found on stackoverflow as:
Gem is a package manager for the Ruby programming language that provides a standard format for distributing Ruby programs and libraries, a tool designed to easily manage the installation of gems, and a server for distributing them.
Download the theme
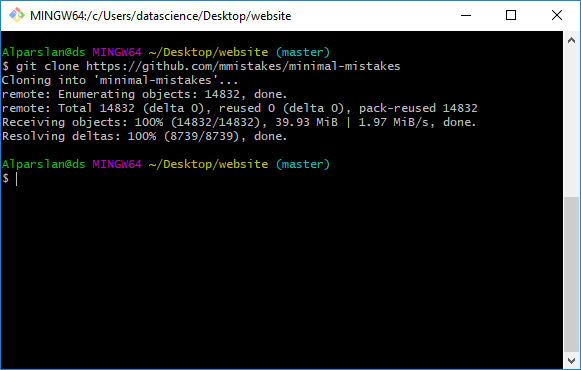
The minimal mistake theme is used on this blog because of its simplicity and elegance. This theme is very well documented by its creator Michael Rose. Download the theme directly from the link above and save it. Another way is just by typing the following command on Git bash:
$ git clone https://github.com/mmistakes/minimal-mistakes
Change into the minimal-mistake directory and install Bundler.
$ cd minimal-mistakes/
$ bundle install
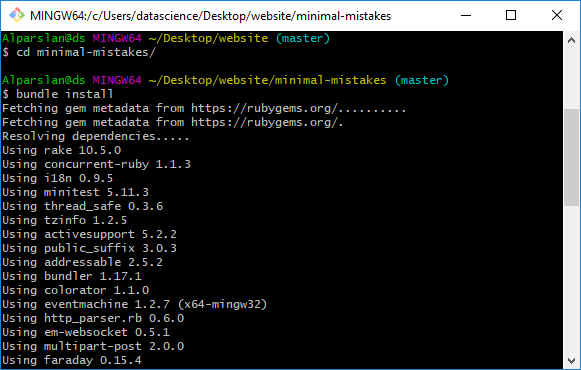
Bundler provides a consistent environment for Ruby projects by tracking and installing the exact gems and versions that are needed.
Build the site
Build the site and make it available on a local server.
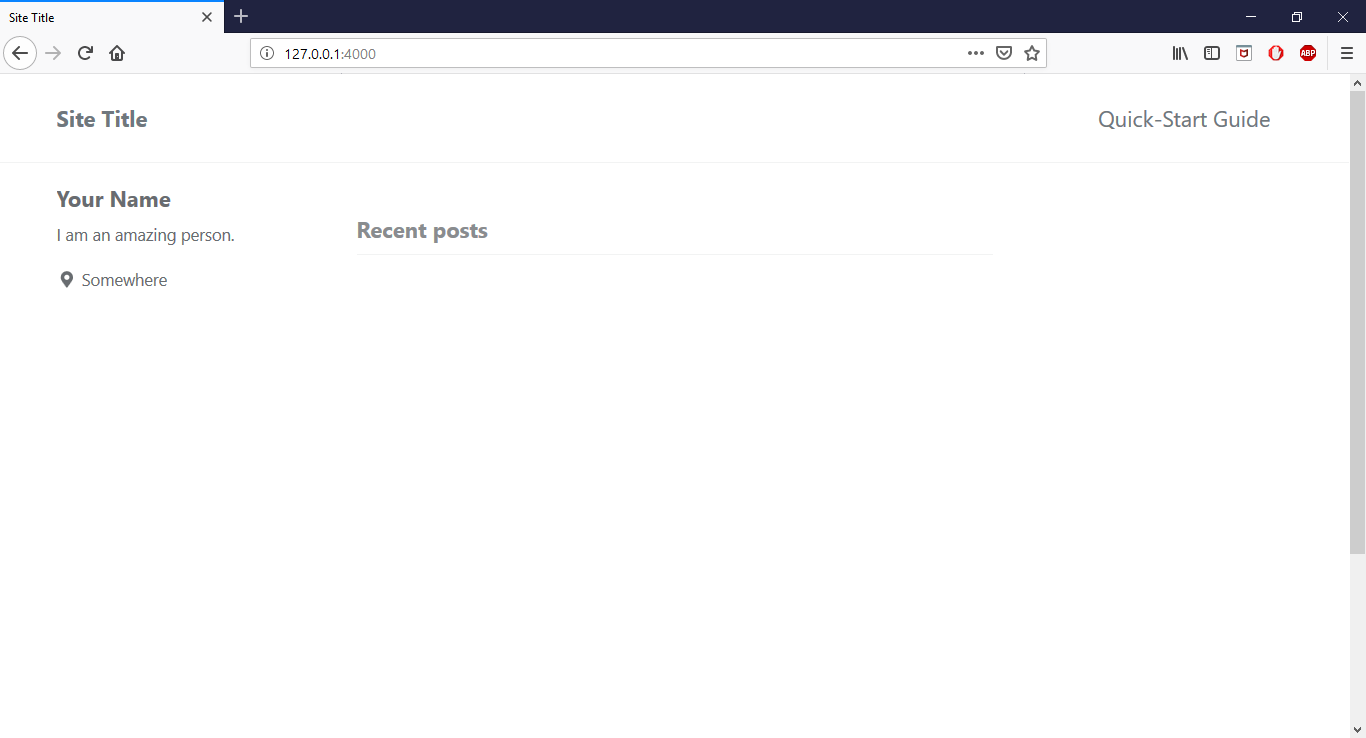
$ bundle exec jekyll serve
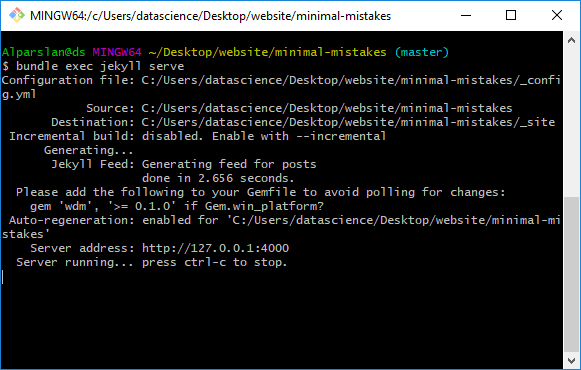
Browse to http://localhost:4000 to see your site.
Modify the Gemfile
Copy paste the following code to the Gemfile
source 'https://rubygems.org'
gem "minimal-mistakes-jekyll"
gem 'jekyll-include-cache'
gem 'jekyll-archives'
Modify the _config.yml file
In the config.yml file, some modifications are to be done.
Search plugins section (at line 225) and add the following line
- jekyll-archives
The final plugins will appear as follows:
plugins:
  - jekyll-paginate
  - jekyll-sitemap
  - jekyll-gist
  - jekyll-feed
  - jemoji
  - jekyll-include-cache
  - jekyll-archives
Uncomment the jekyll-archives (at line 254) till the tag section (the line 263). The final Jekyll-archives will appear as follows:
jekyll-archives:
  enabled:
     - categories
     - tags
  layouts:
     category: archive-taxonomy
     tag: archive-taxonomy
  permalinks:
     category: /categories/:name/
     tag: /tags/:name/
Add the following lines at the defaults section (starting at line 287)
# _pages
  - scope:
      path: "_pages"
      type: pages
    values:
      layout: single
      author_profile: true
The final defaults section will appear as follows:
# Defaults
defaults:
  # _posts
  - scope:
      path: ""
      type: posts
    values:
      layout: single
      author_profile: true
      read_time: true
      comments:  true
      share: true
      related: true
  # _pages
  - scope:
      path: "_pages"
      type: pages
    values:
      layout: single
      author_profile: true
In Site Settings, title(at line 19), name(at line 21), and description(at line 22) could be changed according to the requirements. Activate breadcrumbs (at line 27) by making it true as follows:
breadcrumbs : true # true, false (default)
In the Site Author section, author name (at line 106), bio (at line 108), location (at line 109), links (line 111 onwards) to email, twitter, facebook etc could be changed according to the requirements.
Build the site
Build the site and make it available on a local server
$ bundle exec jekyll serve
Now browse to http://localhost:4000 to see your site.
Conclusion
We have learned about Jekyll, its various advantages over other blogging systems. We have also seen how to make a Jekyll blog. It is a very powerful tool which is widespread for blogging and creating a website. It is getting lots of attention which opens new ways to make a website faster and secure.
Leave a comment